Digital Condition Reporting for Art: A Practical Guide to Getting It Right
What a modern digital condition report should capture, photos, annotations, timestamps, and a clean audit trail galleries and handlers can actually trust.

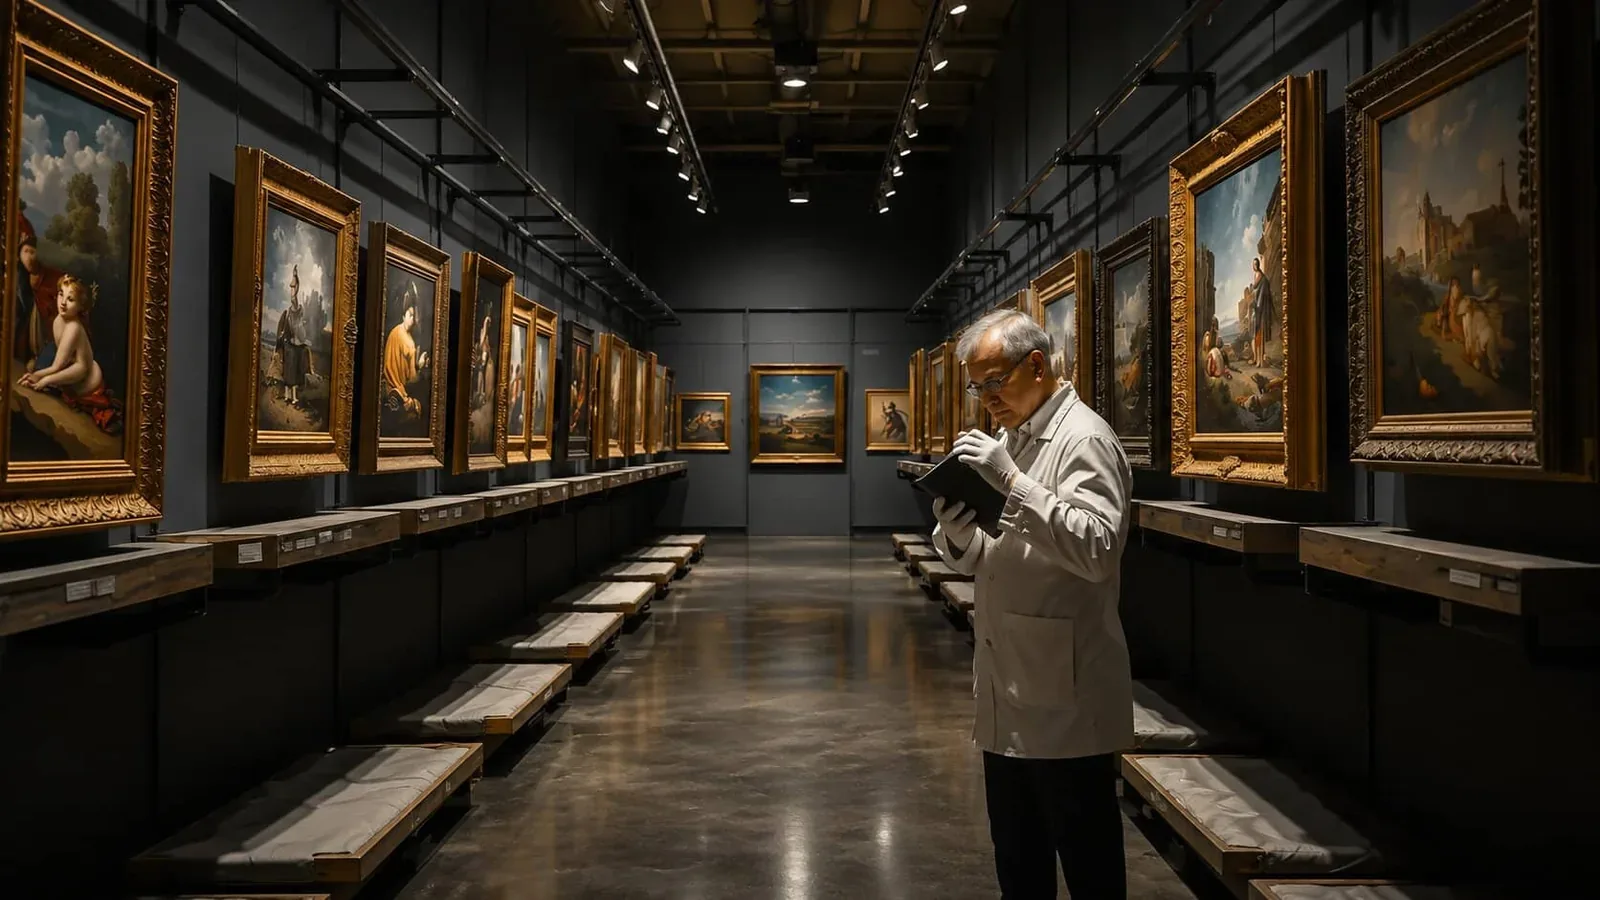
A condition report is the most important document in fine-art handling, and most are still produced as PDFs cobbled together from a clipboard, a phone camera, and an hour at a desk afterward. The result is a document that's technically a record but practically a liability: photos that don't align with the notes, timestamps that reflect when the report was typed up rather than when the condition was observed, and a format that's hard to search the next time the piece moves.
Digital condition reporting fixes all three of those problems — if it's done right. This is a practical guide to what a modern condition report should capture, how the workflow should run, and what a serious piece of condition report software has to do to be worth using over a clipboard.
What a digital condition report should capture
A complete condition report — whether for an intake, a loan, an installation, or a return — should always include the following. Anything less and you're just keeping a photo album.
- The piece identifier (accession number, inventory ID, or QR/RFID tag)
- The date and time of the inspection, captured automatically, not typed
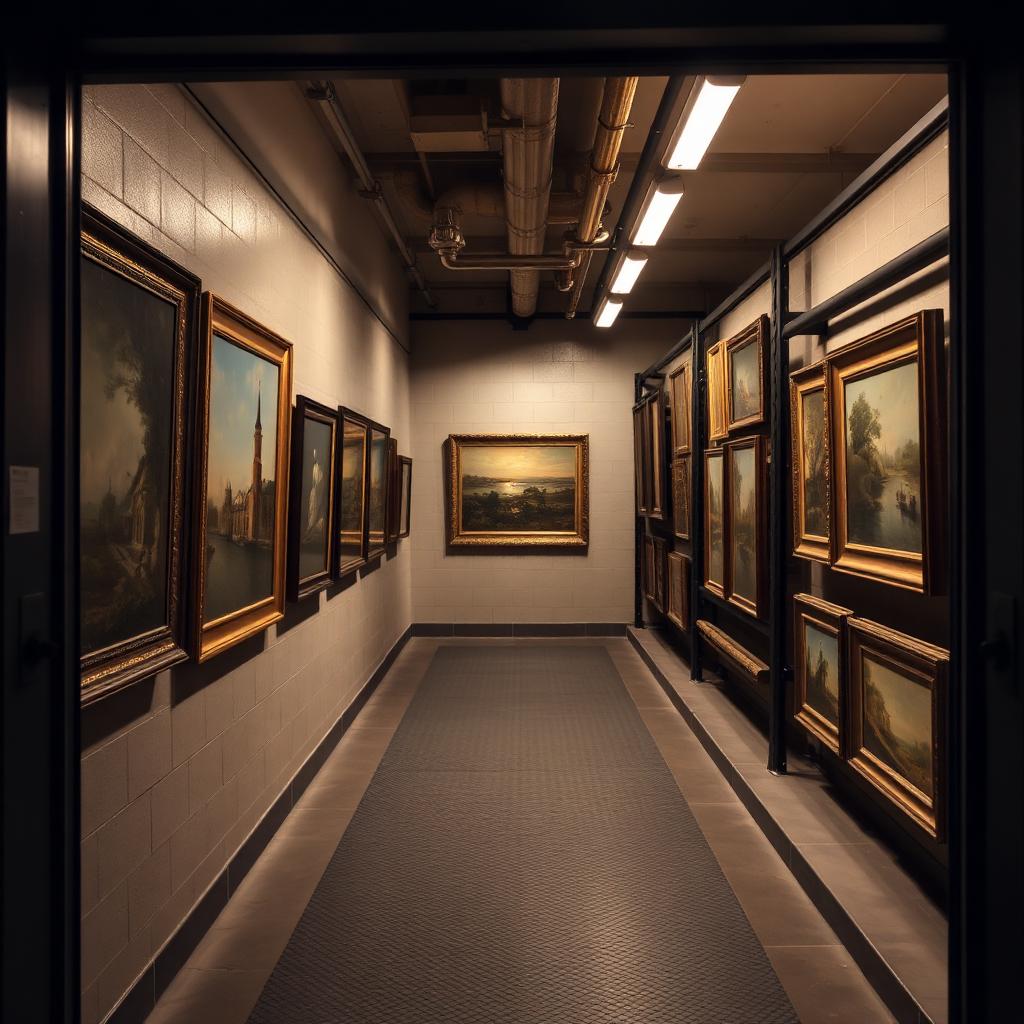
- The location of the inspection (gallery, storage facility, lender's premises, freight depot)
- The inspector's identity, signed off in the record
- High-resolution photos from a consistent set of angles: front, back, sides, and macro shots of any flagged areas
- Annotated overlays on those photos pinning specific concerns (a scratch, a paint loss, a frame chip, a corner crush)
- Condition notes in plain language attached to each annotation
- A comparison view against the previous condition report on file
- A signature — physical or electronic — confirming the report is complete
That's the minimum complete set. Optional but recommended: environmental readings (temperature, humidity) at the moment of inspection, and a packing/crating note if the inspection was at intake or release.
For more context on how this fits into broader gallery operations, see Provenance, Condition Reports, and the Quiet Software Layer Every Gallery Needs.
The four common failure modes
Even galleries and handlers who take condition reporting seriously fall into one or more of these traps. Each one quietly undermines the report's value.
1. Photos and notes that don't align
The handler photographs the piece, then writes notes later from memory. The notes describe a scratch in the upper-right quadrant; the photo doesn't show it clearly. Six months later, no one can tell whether the scratch was already there.
Fix: annotations have to be pinned directly to the photo at the moment of inspection. A scratch is a pin with a note. The two are inseparable.
2. Timestamps that lie
The PDF says "March 12, 9:42 AM." The condition was actually observed at 6:30 PM the day before; the report was typed up the next morning at a desk. If the timing is ever disputed, the report doesn't hold.
Fix: capture timestamps automatically from the device at the moment the photo is taken, and treat the metadata as the source of truth.
3. Format that can't be searched or compared
The PDF gets filed in a Dropbox folder. The next time the piece moves, no one can find the previous report without opening five candidates by hand. Comparison is done by switching tabs.
Fix: condition reports live attached to the item's record in a system designed to surface them automatically. Comparison against the previous report is a single click.
4. No clear chain of custody
The report is on the handler's iPad. The PDF gets emailed around. The "original" exists in three slightly different versions. When something matters, no version is authoritative.
Fix: a single canonical record, immutable once signed, with a versioned audit trail of any subsequent annotations.
The workflow that actually works
A condition-report workflow that holds up under scrutiny tends to look identical across well-run operations:
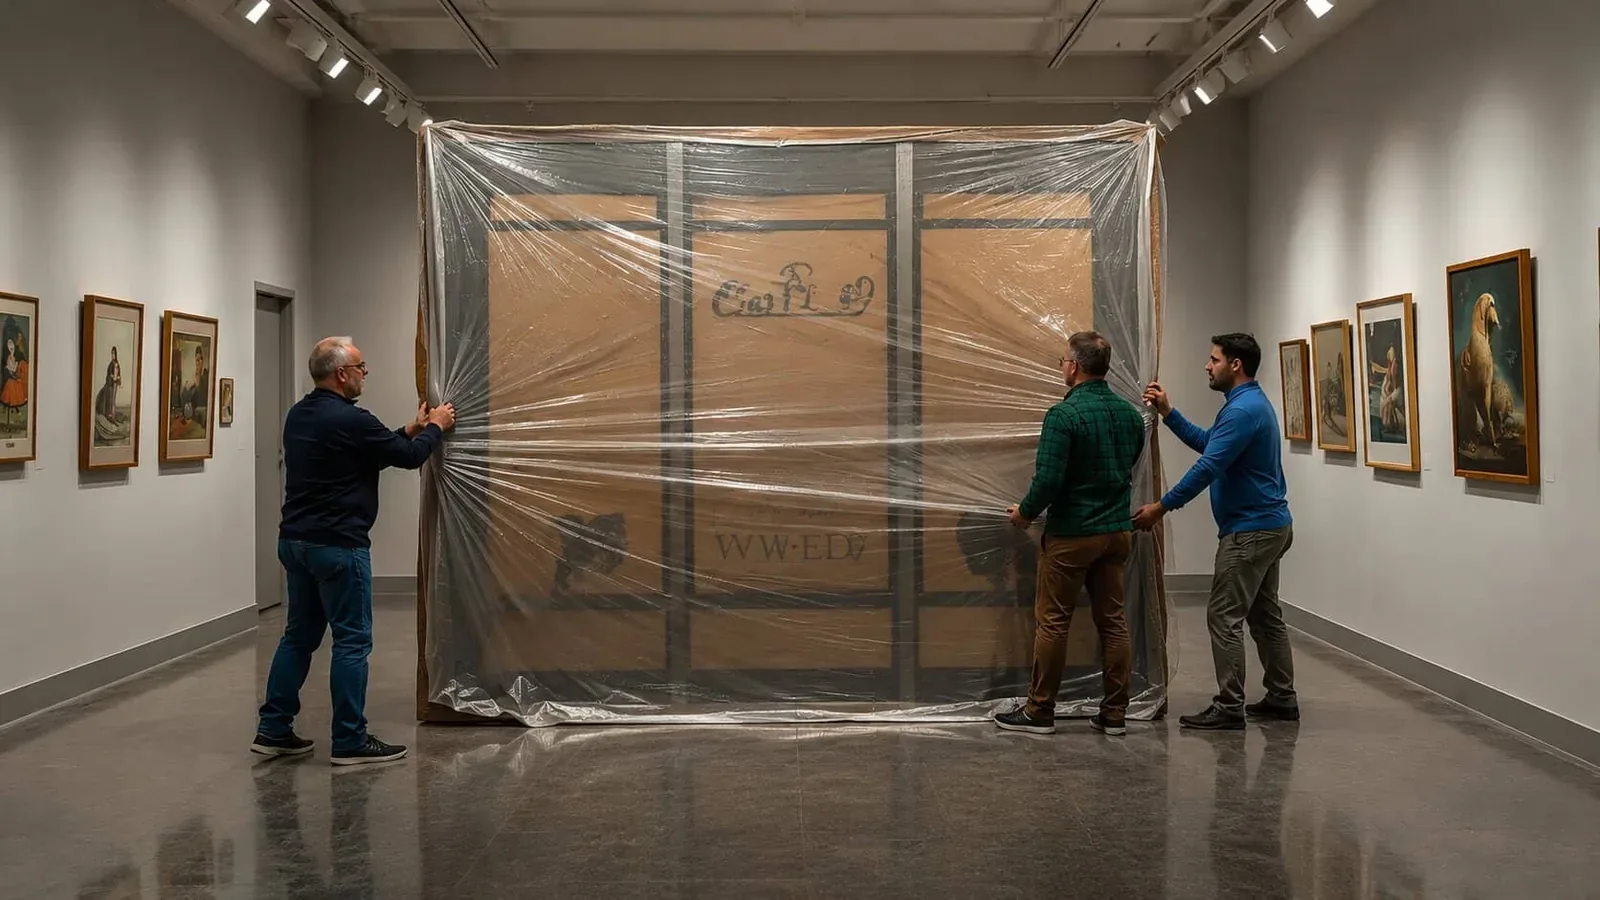
1. Scan the piece's identifier (QR, label, accession number) to open the right item record. 2. Pull up the previous condition report automatically. Skim it before you start. 3. Photograph from the standard angle set, with the device's clock and location stamped into the metadata. 4. Pin annotations directly to the photos as you observe each concern. Each pin gets a short plain-language note. 5. Compare side-by-side with the previous report. New concerns are flagged; resolved concerns are noted. 6. Add a packing/environmental note if relevant. 7. Sign and submit. The report becomes part of the item's permanent record, immutable from that point on. 8. The next handler in the chain (installer, courier, registrar at the destination) sees the report before the piece arrives.
Done with a serious tool, the whole cycle takes 15–25 minutes per piece. Done with a clipboard and a typing session afterward, it takes an hour and produces a worse record.
A condition-report field checklist
If you're building or evaluating a condition-report form, the minimum field set should be:
1. Item identifier (auto-populated from scan) 2. Inspector name (auto-populated from login) 3. Date and time (auto-captured) 4. Location (auto-captured from device geolocation, with manual override) 5. Inspection context (intake / pre-shipment / post-shipment / installation / return / periodic) 6. Photo set (minimum: front, back, sides; macro shots as added) 7. Annotated pins on photos with linked notes 8. Condition rating (good / fair / poor — or a more granular scale your operation has agreed) 9. Specific concerns: surface, structure, frame, mount, signs of prior repair 10. Environmental conditions at inspection (optional but recommended) 11. Packing/crating notes (when applicable) 12. Signature 13. Comparison to previous report — fields flagged as new, resolved, or unchanged
If a tool you're evaluating can't capture all thirteen, you'll be filling the gaps elsewhere — and the gaps are where disputes come from.
What changes when the workflow goes digital
Operations that move from paper or PDF condition reports to a proper digital workflow consistently report three things:
- Time per report drops by roughly half, because notes are captured as annotations rather than typed afterward.
- Disputes drop sharply, because the timestamp and metadata trail is hard to argue with.
- Institutional knowledge persists, because every prior report is one click from the item record. New staff get up to speed on a piece by reading its history, not by interviewing the person who's been handling it for years.
The case for going digital isn't aesthetic. It's operational and legal.
How Stowley handles this
Stowley's condition reporting is built into the same item record that holds the piece's photos, dimensions, location history, and provenance. Scan a QR label and the right record opens; the previous condition report sits there waiting to be compared. Photos taken from inside the app stamp timestamp, location, and the inspector's identity automatically. Annotations pin directly to the photo and carry their own notes. Submission signs the report and locks it into the immutable record. The next handler in the chain — installer, courier, registrar at the destination — sees the report by opening the item.
The whole point is that the report isn't a document you have to remember to file. It's a side effect of doing the inspection inside the tool that already runs the operation.
Where to go from here
If your condition reports today are PDFs in folders, the highest-leverage thing you can do this quarter is move the workflow inside the tool that already holds your item records. Two reports done the new way will show the difference more than any argument will.
Start a 7-day free trial at /signup, import a couple of real pieces, and run a condition report on each — from QR scan to signed record. You'll feel the difference in the first ten minutes. Adjacent long-form pieces — on provenance and lending art without losing sleep — live in the blog.
Frequently asked questions
What is a digital condition report for art?
A condition report captured inside a software tool — with photos, annotations pinned to the photos, automatic timestamps and location, the inspector's identity, comparison to prior reports, and a signed immutable record attached to the item. The opposite of a PDF cobbled together at a desk from a clipboard and a phone camera.
What should a digital condition report capture?
Item identifier, inspector identity, date and time, location, inspection context, a standard photo set, annotated pins with notes, a condition rating, specific concerns (surface, structure, frame, mount, prior repair), optional environmental readings, packing notes, signature, and a delta against the previous report.
What is the best condition report software?
Look for tools where photos, annotations, and item records live in the same system — not where condition reports are a side document. The best fit is a platform that already holds your inventory, provenance, and movement history, so reports become a side effect of doing the inspection. Stowley is built for this pattern.
How long does a digital condition report take?
15–25 minutes per piece with a serious tool, compared to roughly an hour with a clipboard plus a follow-up typing session. The time saving compounds because each report is one click from the prior history, so the next inspection starts with full context instead of a folder search.